Patio Installation Cost Estimate: What Homeowners Pay
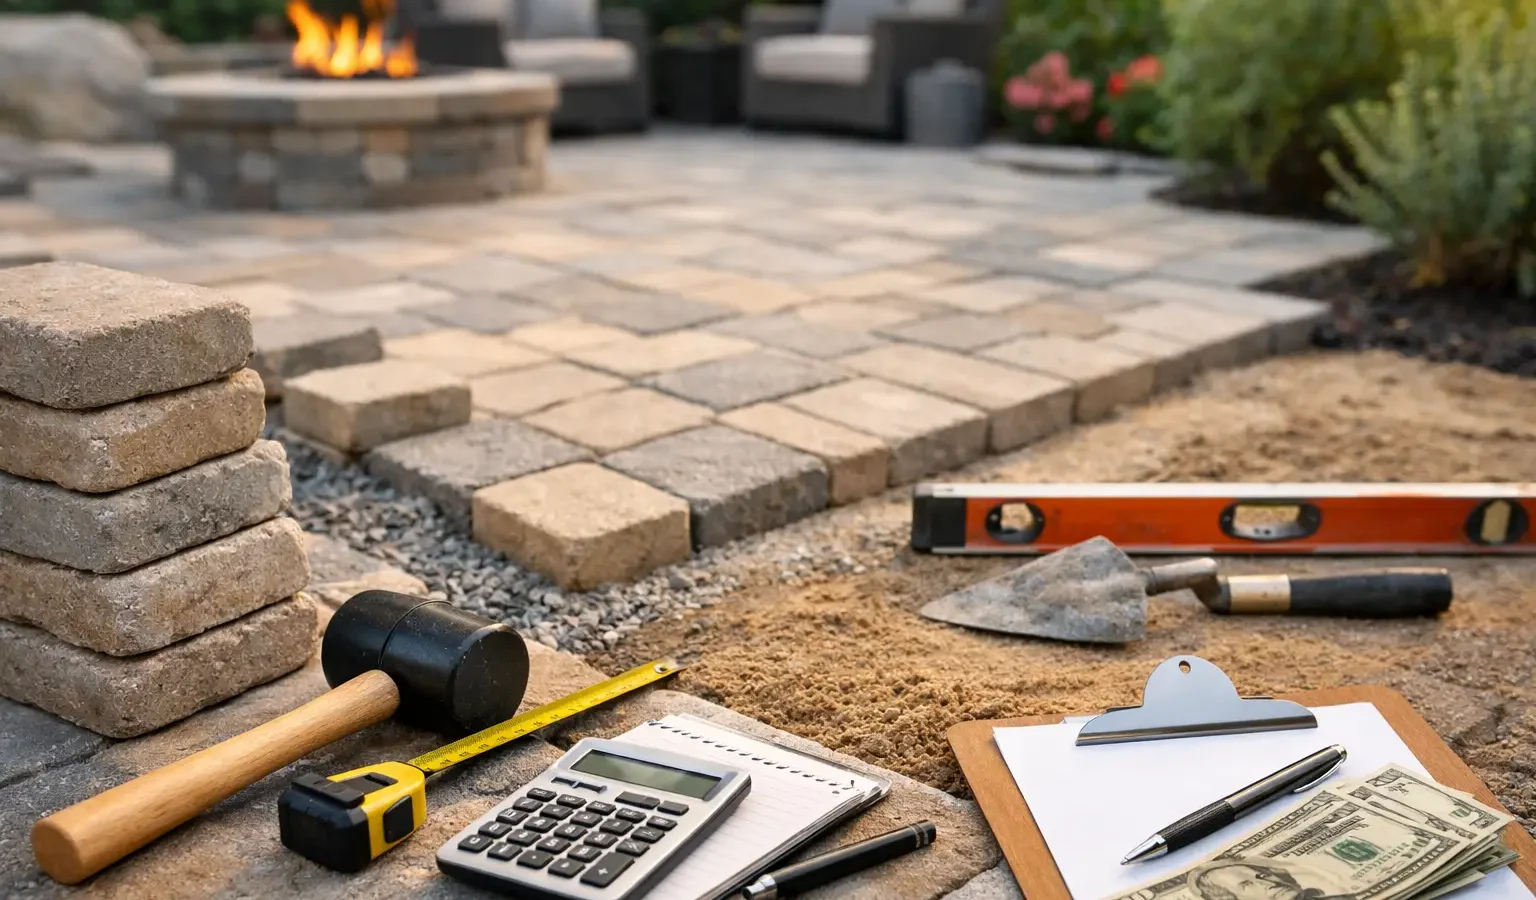
A patio can look like a simple rectangle on a sketch, then become a very different project once drainage, access, grading, material selection, and finished details enter the conversation. A useful patio installation cost estimate starts by separating the surface you see from the work required to build a durable outdoor space beneath it.
For a basic patio, homeowners may be focused on square footage and material cost. For a larger outdoor living project, the patio may also need to support a dining area, fire feature, outdoor kitchen, retaining wall, pergola, lighting, or a new connection to the house. The right budget depends on the whole scope, not a single national price.
1. Start with realistic patio cost ranges
As a broad planning range, a professionally installed patio often falls between $20 and $60 or more per square foot. A straightforward concrete patio on an accessible, mostly level site can land toward the lower end. Premium natural stone, detailed paver patterns, difficult terrain, structural features, and integrated outdoor living elements can move the price substantially higher.
That means a 300-square-foot patio could be a $6,000 to $18,000 project in a relatively simple setting. A carefully designed 600-square-foot stone patio with steps, drainage work, lighting, and a fire feature may be a $40,000 to $80,000 investment or more, depending on market and finish level.
These are planning figures, not promises. Labor rates, permit requirements, material availability, and site conditions vary widely between regions. A builder who works regularly in your area is better positioned to identify the real costs behind the number.
Common installed cost ranges by material
Concrete remains a practical choice for homeowners who want a clean, durable surface at a controlled cost. Standard broom-finish concrete is typically the most economical option, while colored, stained, stamped, or exposed-aggregate concrete adds labor and finish costs.
Concrete pavers generally cost more than plain concrete because they require a carefully prepared base, edge restraints, joint sand, and precise installation. In return, they offer design flexibility and can be repaired section by section if settlement occurs.
Natural stone delivers a more distinctive, custom look, especially for properties where the patio should relate to an existing masonry home, pool, garden, or landscape. Bluestone, flagstone, travertine, and other stone options vary sharply in material price, thickness, availability, and installation complexity. Stone is often where craftsmanship and layout details have the greatest effect on the final number.
2. Understand what is included in a patio installation cost estimate
Two proposals can show similar square footage but represent very different levels of work. Before comparing totals, look for the scope behind each estimate.
A complete patio project commonly includes demolition or removal of an existing surface, excavation, soil preparation, a compacted aggregate base, grading, drainage measures, the chosen patio material, cuts and edge details, and cleanup. If the patio meets the home, it may also include adjustments to thresholds, siding clearances, steps, or door landings.
Some builders include design, permit coordination, and material allowances in their initial proposal. Others price those items separately or provide a preliminary budget before final selections are made. Neither approach is automatically better. What matters is understanding what has been assumed, what is fixed, and what could change once the design is finalized.
Ask whether the estimate accounts for hauling, equipment access, disposal, utility locating, and restoration of disturbed lawn or planting areas. These details are easy to overlook and often explain why a low initial number rises later.
3. Site conditions can change the budget quickly
The patio material is visible. Site preparation is where many of the less visible costs live.
A level backyard with open access for equipment is fundamentally different from a sloped lot reached through a narrow side yard. If a crew must move soil and stone by hand, work around mature trees, protect a finished landscape, or navigate stairs, labor increases. Rocky soil, poor drainage, high water tables, and existing concrete that must be removed can also add meaningful cost.
Drainage deserves particular attention. A patio should direct water away from the house while fitting thoughtfully into the larger yard. Depending on the site, that may require regrading, a swale, drain lines, catch basins, or retaining walls. Saving money by skipping necessary drainage work can create a much more expensive problem after the first hard rain.
In cold-weather markets, base depth and frost considerations matter as well. In warm coastal markets, access, drainage, and local material pricing may be more influential. This is why online calculators are useful for early research but cannot replace a site-aware proposal.
4. Decide whether the patio is a surface or a destination
The most accurate budget comes from knowing how you intend to use the space. A small landing outside a back door has different requirements than a patio built for twelve guests, a grill station, and an outdoor fireplace.
Start with circulation. Consider where people enter, where furniture will sit, how a grill or dining table will fit, and whether pathways need to connect the patio to a pool, garden, garage, or side yard. A patio that feels undersized once furniture arrives is difficult to correct elegantly.
Then consider the elements that can be more cost-effective when planned from the beginning: low-voltage lighting, gas lines, electrical outlets, footings for a pergola, drainage beneath the finished surface, or a foundation for a future outdoor kitchen. You do not need to build every feature at once. But allowing for future work can reduce demolition and rework later.
A phased plan can be a sensible choice when budget is a concern. The first phase might establish the patio, grading, utilities, and key structural components. Landscaping, a pavilion, or a kitchen can follow when the timing is right. The builder should know this is the plan so the first phase does not limit the next one.
5. Compare estimates by scope, not just the bottom line
When you receive patio proposals, the lowest price may be appropriate if the scope and construction approach are truly comparable. Often, they are not.
A useful comparison looks at the material specification, base preparation, drainage approach, edge restraint or concrete thickness, demolition assumptions, warranty terms, and exclusions. For stone or pavers, ask how cuts, pattern changes, borders, and waste are handled. For concrete, clarify the finish, control joints, reinforcement, curing plan, and whether color variation is expected.
It is also reasonable to ask what conditions could trigger a change order. Unknown buried debris, unsuitable soil, utility conflicts, or concealed damage are real possibilities on an exterior project. A clear builder will explain how those conditions are documented and approved before extra work proceeds.
The best first conversation is not simply, “What is your price per square foot?” It is, “What would you need to know to price this patio correctly?” That question helps reveal whether the professional is considering the details that protect the finished project.
6. Bring the right information to your first builder conversation
You do not need a complete design to request a patio budget. A few practical details can make the conversation much more productive: your property location, approximate patio dimensions, preferred materials, inspiration images, photos of the yard, desired features, target budget range, and timing.
If you already have a survey, landscape plan, or architectural drawing, share it. If you do not, describe the intended use and any constraints you know about, such as a sloped yard, drainage concern, limited access, HOA review, or a door that needs new steps.
At Deckari, this kind of project context helps create a more useful first conversation with builders whose work matches the scope. You remain free to evaluate the professionals, compare their approaches, and decide who is right for your property.
7. Set a budget with room for decisions
For an early patio installation cost estimate, establish a comfortable target range rather than a single hard number. That gives a builder room to show you practical alternatives: perhaps pavers instead of natural stone, a simpler pattern with a stone border, or a first phase that prepares for a future fire feature.
Keep a contingency for site discoveries and selection upgrades, particularly on older properties or complex yards. The goal is not to spend more than planned. It is to avoid designing a patio around an unrealistically narrow figure, then having to compromise on preparation, drainage, or the features that make the space useful.
A well-planned patio should make the backyard easier to enjoy for years, not create a new list of problems after installation. Bring your priorities, your budget range, and an honest picture of the site to the first conversation. The right builder can turn that information into a clearer path forward.