How to Budget an Outdoor Kitchen Without Guesswork
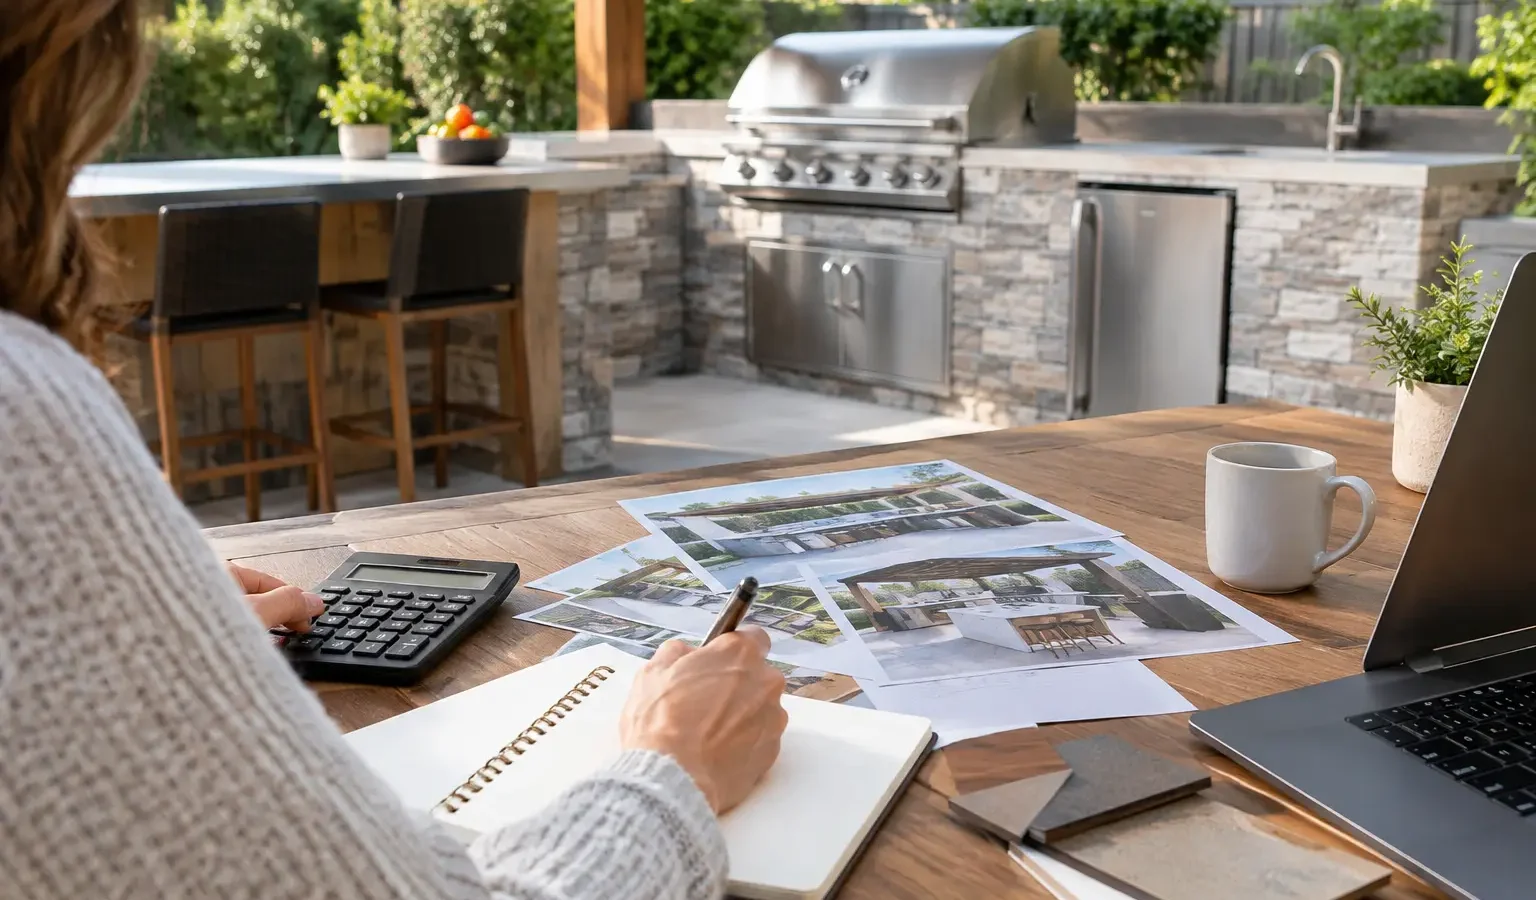
A built-in grill beside a patio can be a focused upgrade. A full outdoor kitchen with refrigeration, plumbing, stonework, lighting, and a roof structure is a coordinated construction project. If you are asking how to budget an outdoor kitchen, the most useful first step is not choosing a grill. It is deciding what the space must do for your household, where it will sit, and which parts of the project are truly non-negotiable.
A realistic budget gives you a clearer path to design decisions and a more useful first conversation with a qualified outdoor living builder. It also helps prevent a common problem: setting an appliance budget first, then discovering that utilities, foundations, access, and finish work require just as much attention.
1. Define the Outdoor Kitchen You Are Actually Building
“Outdoor kitchen” covers a wide range of scopes. A modest cooking station may include a built-in gas grill, weather-resistant cabinetry, counter space, and basic lighting. A larger entertaining kitchen might add a sink, refrigerator, ice maker, pizza oven, bar seating, storage, ventilation, a pergola or pavilion, and an expanded patio or deck.
Start with how you expect to use the space. If your family grills twice a week and occasionally hosts neighbors, a durable grill island with prep space may be the right investment. If you regularly host larger gatherings, the budget may need to account for separate cooking, serving, and seating zones so guests are not standing in the work area.
It also depends on your property. A kitchen near the house can often use shorter utility runs. A destination kitchen at the edge of a pool, overlooking a lake, or below a sloped deck may be more dramatic, but trenching, drainage, retaining work, and material delivery can change the cost substantially.
Before discussing a number, write a short scope statement: the location, cooking appliances, water needs, power needs, seating goal, shade plan, and any connected work such as a patio expansion or deck replacement. This is more valuable than a long wish list because it gives builders the context to identify what the project will actually require.
2. Build Your Budget From the Site Outward
Homeowners often picture the visible components first: grill, counters, cabinetry, and stone. Those matter, but the site and supporting construction set the conditions for everything above them.
For a substantial outdoor kitchen, budget conversations usually need to address four connected areas:
- Site preparation and structure: Demolition, excavation, grading, drainage, footings, slab work, deck reinforcement, masonry bases, and access for crews and materials.
- Utilities and code work: Gas or propane, electrical circuits, plumbing, drainage, ventilation, permits, inspections, and possible service upgrades.
- Kitchen components: Appliances, cabinets or framed enclosures, countertops, backsplashes, sinks, hardware, and storage.
- Comfort and finish work: Lighting, fans, heaters, shade structures, screens, seating walls, landscaping repairs, and integration with the rest of the backyard.
A project with premium appliances on an existing, well-built patio can be relatively straightforward. The same appliances on a new elevated deck or in a remote backyard location can require significantly more construction work. That is why comparing only appliance packages rarely produces an accurate project budget.
As a broad planning range, a simple built-in grill station may begin in the lower five figures, while a fully integrated kitchen with utilities, high-end finishes, a substantial hardscape area, and overhead coverage can reach well into six figures. Local labor costs, permitting, access, climate exposure, and the condition of the existing outdoor space all affect where your project lands.
3. Separate Must-Haves From Nice-to-Haves
A budget works best when it reflects priorities, not just product prices. Identify the two or three elements that will make the project successful for your household. For some homeowners, that is a dependable grill, generous prep space, and seating. For others, it is a pizza oven, a full bar, or a covered cooking area that extends the season.
Then identify features that can be phased without compromising the core build. A builder may be able to rough-in gas, water, electrical capacity, or structural support now while you postpone a beverage center, specialty appliance, or decorative finish until later. This can be a smart choice when the underlying work is difficult to revisit after counters and masonry are complete.
Phasing is not always the less expensive route. Re-mobilizing trades, opening finished surfaces, and matching materials later can add cost. Still, it can preserve your control over the initial investment while keeping future options open. Ask which decisions must be made before construction begins and which can reasonably wait.
4. Allow for the Costs That Do Not Show Up in Inspiration Photos
Outdoor kitchens work hard in demanding conditions. Sun, moisture, freeze-thaw cycles, salt air, wind, and temperature swings influence material choices and construction details. A lower-cost finish that looks appropriate in a photo may not be the right long-term choice for an exposed mountain, coastal, or Midwestern backyard.
Utility work is another frequent budget surprise. A gas grill may require an appropriately sized line. An electric pizza oven, refrigerator, task lighting, and outlets may require new circuits or electrical-panel capacity. A sink may require water supply and a code-compliant drainage solution. If the kitchen sits under a roofed structure, ventilation and clearances also need careful planning.
Do not overlook access. Can equipment reach the backyard easily? Will crews need to work through a narrow side yard, across a finished lawn, or over a steep grade? A well-designed project accounts for site restoration after construction, including landscaping, irrigation repairs, and cleanup.
Set aside a contingency rather than treating it as an afterthought. For renovation work, many homeowners reserve roughly 10% to 20% of the construction budget for conditions that become clear only after demolition, utility investigation, or permitting review. The appropriate amount depends on the age and complexity of the property. A newer patio with documented utilities may justify a smaller reserve than an older backyard with uncertain drainage and buried lines.
5. Compare Builder Proposals by Scope, Not by the Bottom Line
Two proposals can show very different totals because they include different assumptions. One may include appliance allowances, permit handling, electrical work, demolition, and countertop installation. Another may cover only the masonry shell and leave several major items for separate trades or homeowner purchases.
Ask each builder to clarify the project boundaries in plain language. Confirm who is responsible for design, engineering if needed, permits, utility connections, appliance procurement, delivery, installation, and final site restoration. If allowances are used, ask what product level and quantity each allowance represents.
It is also worth asking what is excluded. Existing conditions, landscaping changes, panel upgrades, drainage corrections, and specialty finishes can be reasonable exclusions, but they should be visible in the conversation. A lower starting number is not necessarily a better value if it leaves major required work undefined.
The right builder should be comfortable discussing trade-offs. For example, shifting the kitchen closer to existing utilities may free budget for better cabinetry or counters. Selecting a compact appliance suite may allow room for a larger dining area. You decide which outcome matters more, but good project information makes the decision easier.
6. Bring the Right Information to the First Conversation
You do not need finished plans before speaking with a specialized builder. A few photos of the yard, a rough sketch, inspiration images, and your target investment range are enough to start a productive discussion. Include any known property details, such as HOA requirements, planned deck or patio work, utility locations, and your preferred construction timing.
Be direct about your budget range. This is not a commitment to spend every dollar. It is a planning tool that lets a builder recommend a scope and material strategy that fit your goals instead of designing far beyond them. If the vision and budget are not aligned yet, that is useful information to learn early.
A project-specific intake process can help organize those details before introductions are made. Deckari is designed to collect the practical context builders need, including location, scope, budget, timing, and design readiness, so the first conversation can begin with your actual project rather than a generic request for a quote.
The best outdoor kitchen budget is not the smallest number you can put on paper. It is a range that protects the essential work, allows for the realities of your site, and supports a space you will still want to use years from now.