A Practical Guide to Patio Drainage Plans
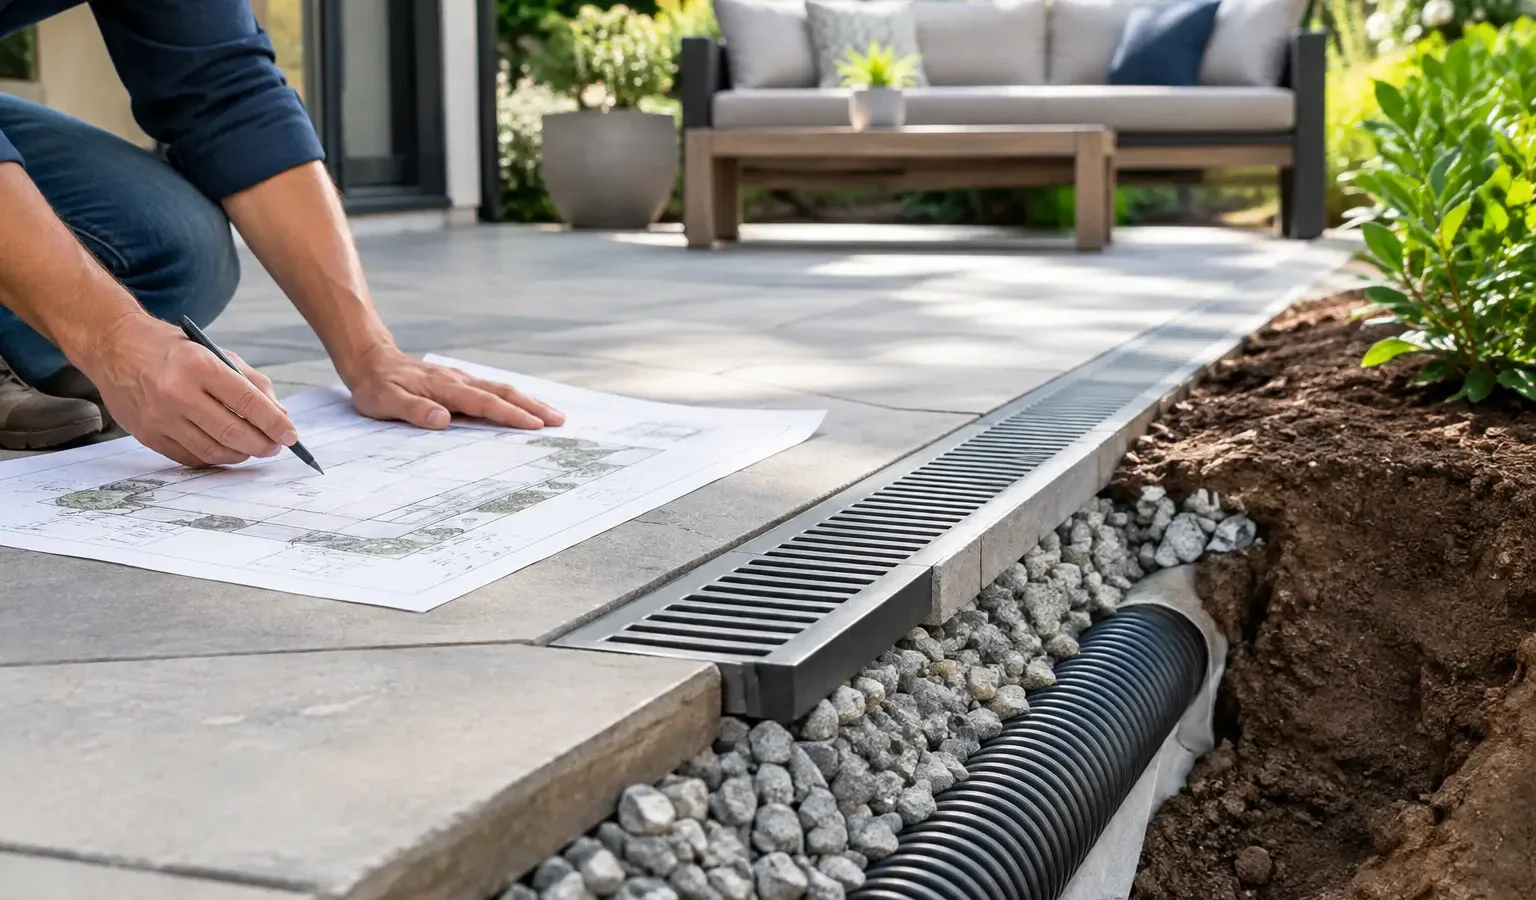
A beautiful patio can fail long before the pavers crack or the furniture fades. If water repeatedly settles against the house, pools at a doorway, or washes through planting beds, the problem is usually not cosmetic. This guide to patio drainage helps homeowners make drainage part of the patio plan from the first conversation, when changes are easier, less disruptive, and far less expensive.
For a simple seating pad, the solution may be a carefully graded surface. For a large patio tied into a pool, outdoor kitchen, retaining wall, or roof drainage system, water management deserves its own design discussion. The right approach depends on your property, soil, climate, existing elevations, and the way the patio connects to the rest of the backyard.
1. Start With Where the Water Goes
A patio needs a defined path for rainwater. That sounds straightforward, but the path must work during a heavy storm, not just after a light shower. Water should move away from the home and toward an approved drainage area without creating a new problem at a neighboring property, foundation, walkway, or lower section of the yard.
Most patios use a gentle surface slope to direct water away from the house. A common target is about 1/8 to 1/4 inch of fall per foot, though the appropriate slope depends on the material, local conditions, and the design. Too little slope can leave standing water. Too much can feel noticeably tilted underfoot, make furniture difficult to level, and accelerate runoff.
The existing yard elevation matters as much as the new patio elevation. A builder may need to lower, raise, terrace, or regrade portions of the project area to establish enough fall. This is particularly relevant when a new patio meets an existing door threshold, deck stairs, pool coping, or retaining wall. Those fixed points limit the room available to create proper drainage.
2. Look Beyond the Patio Surface
Patio drainage is not only about water landing on the patio. Roof runoff, downspouts, uphill lawn areas, driveway runoff, and neighboring grades can all send water toward the space you are building.
Before finalizing a layout, walk the property after rainfall if possible. Note where puddles form, where soil washes out, and whether downspouts discharge near the proposed patio. Look for staining along the foundation, moss on shaded hardscape, damp mulch beds, or a lawn that stays soft long after a storm. These clues give a builder useful context before excavation begins.
A new patio can improve an existing drainage problem, but it can also concentrate water if it is treated as an isolated slab of hardscape. Impervious materials such as concrete, porcelain tile, and tightly jointed pavers shed water quickly. If the project expands the hardscape footprint, the plan may need added collection and conveyance capacity.
3. Choose the Drainage Strategy That Fits the Site
There is no single best patio drainage system. A qualified outdoor living contractor may recommend one approach or combine several, based on the amount of water, available outlet locations, local requirements, and finished design.
Surface grading
For many open patios, surface grading does most of the work. The patio itself is pitched toward a lawn, planting area, swale, or perimeter drain. This is often the cleanest solution because it avoids visible grates and mechanical components. It only works when there is a viable place for water to go after it leaves the patio.
Channel drains
A linear channel drain is commonly used where a patio meets a house, pool deck, garage threshold, or other area where water cannot simply flow across the surface. The narrow grate collects runoff and directs it into buried piping. Channel drains can be highly effective, but they require correct elevation, an accessible cleanout plan, and a reliable discharge point. A grate that is too high, poorly sloped, or clogged with leaves will not solve the underlying issue.
Area drains and catch basins
Area drains collect water at low points, often near the edge of a patio or within a landscaped zone. They can work well for concentrated runoff from a downspout or a small drainage basin. They are less effective if the patio has broad, flat areas that allow water to pond before reaching the drain.
French drains and subsurface systems
A French drain uses perforated pipe and drainage stone to manage water below the surface. It is useful for saturated soil, seepage near retaining walls, or water moving through the ground from an uphill area. It is not a substitute for proper patio slope. Surface water should be directed intentionally, while subsurface drainage addresses water within the soil.
Permeable surfaces
Permeable pavers, open-joint systems, gravel patios, and similar assemblies allow water to move through the surface into a prepared stone base below. They can reduce runoff and support a more natural drainage approach. Their success depends on soil conditions, base design, maintenance, and how much sediment is likely to enter the system. They may not be the best fit for every freeze-thaw climate, steep site, or heavily shaded area.
4. Plan Drainage Before Selecting Finishes
Homeowners often choose pavers, tile, or stamped concrete early because those are the visible parts of the patio. The drainage design should be established first. Material thickness, joint style, edge restraints, and installation method all affect final elevations and water movement.
For example, large-format porcelain pavers can create a crisp, contemporary patio, but they need a stable base and accurate pitch. Natural stone offers variation and character, yet the individual pieces may require closer attention to consistent drainage planes. Concrete can be shaped for drainage efficiently, but control joints, finish texture, and transitions need to support the intended slope.
If your design includes an outdoor kitchen, fireplace, pavilion, or pergola, ask how each feature affects runoff. Roofed structures collect and concentrate water. Gas lines, electrical conduits, and footings may compete for space with drain piping. The best time to coordinate these elements is before the patio is excavated, not after the base has been installed.
5. Ask the Questions That Clarify the Scope
A useful first builder conversation should move beyond, “Can you add a drain?” Share photos of the area after rain, your desired patio layout, and any known history of water intrusion or pooling. Then ask how the contractor intends to manage water from the patio, adjacent roofs, and surrounding grades.
You should also understand the proposed outlet. Will water discharge to a landscaped area, daylight at a lower elevation, connect to an approved system, or enter a dry well? Local rules can limit where stormwater may be directed, especially in areas with tight lots, coastal conditions, or municipal stormwater requirements.
Ask who is responsible for drainage design, permits if needed, and restoration outside the immediate patio footprint. If a drain line crosses a lawn or planting bed, the proposal should make clear what will be disturbed and how it will be repaired. When a project involves retaining walls, major grading, or persistent foundation moisture, a civil engineer or drainage specialist may be appropriate alongside the patio builder.
6. Watch for Shortcuts That Create Expensive Repairs
A low bid can leave out the parts of drainage work that are buried and therefore easy to overlook. That does not mean every project needs an elaborate drainage network. It means the written scope should explain how water will be handled rather than assuming it will work itself out.
Be cautious when a proposal does not identify patio slope, has no drainage outlet, or relies on a single drain placed in the middle of a mostly flat surface. Also question downspouts that empty directly onto a new patio and drain lines that are inaccessible for cleaning. Leaves, mulch, and sediment are normal realities of an outdoor space, so maintenance access matters.
Drainage changes can also affect a neighbor. Water should not be redirected across a property line or toward another home simply because that is the easiest route. A contractor who considers the full site is protecting more than the patio finish.
7. Bring Clear Information to the Hiring Process
You do not need engineered drawings to begin planning, but a few details help a specialist assess fit quickly. Have your property location, rough patio dimensions, inspiration images, known drainage concerns, budget range, desired timing, and any survey or prior plans available. Mention whether the patio is part of a larger backyard transformation, since a phased project can still benefit from a coordinated drainage strategy.
Deckari can help homeowners organize this type of project context before they speak with builders. A clearer initial picture gives the contractor a better foundation for discussing scope, site constraints, and the right level of drainage work. You remain in control of who you hire and how the final plan takes shape.
A patio should make rainy days feel uneventful. When the water path is planned with the same care as the seating area, fire feature, and finish materials, the outdoor space is better positioned to look good, perform well, and support the backyard you have been imagining for years.