Builder Sketch Requirements for a Better First Bid
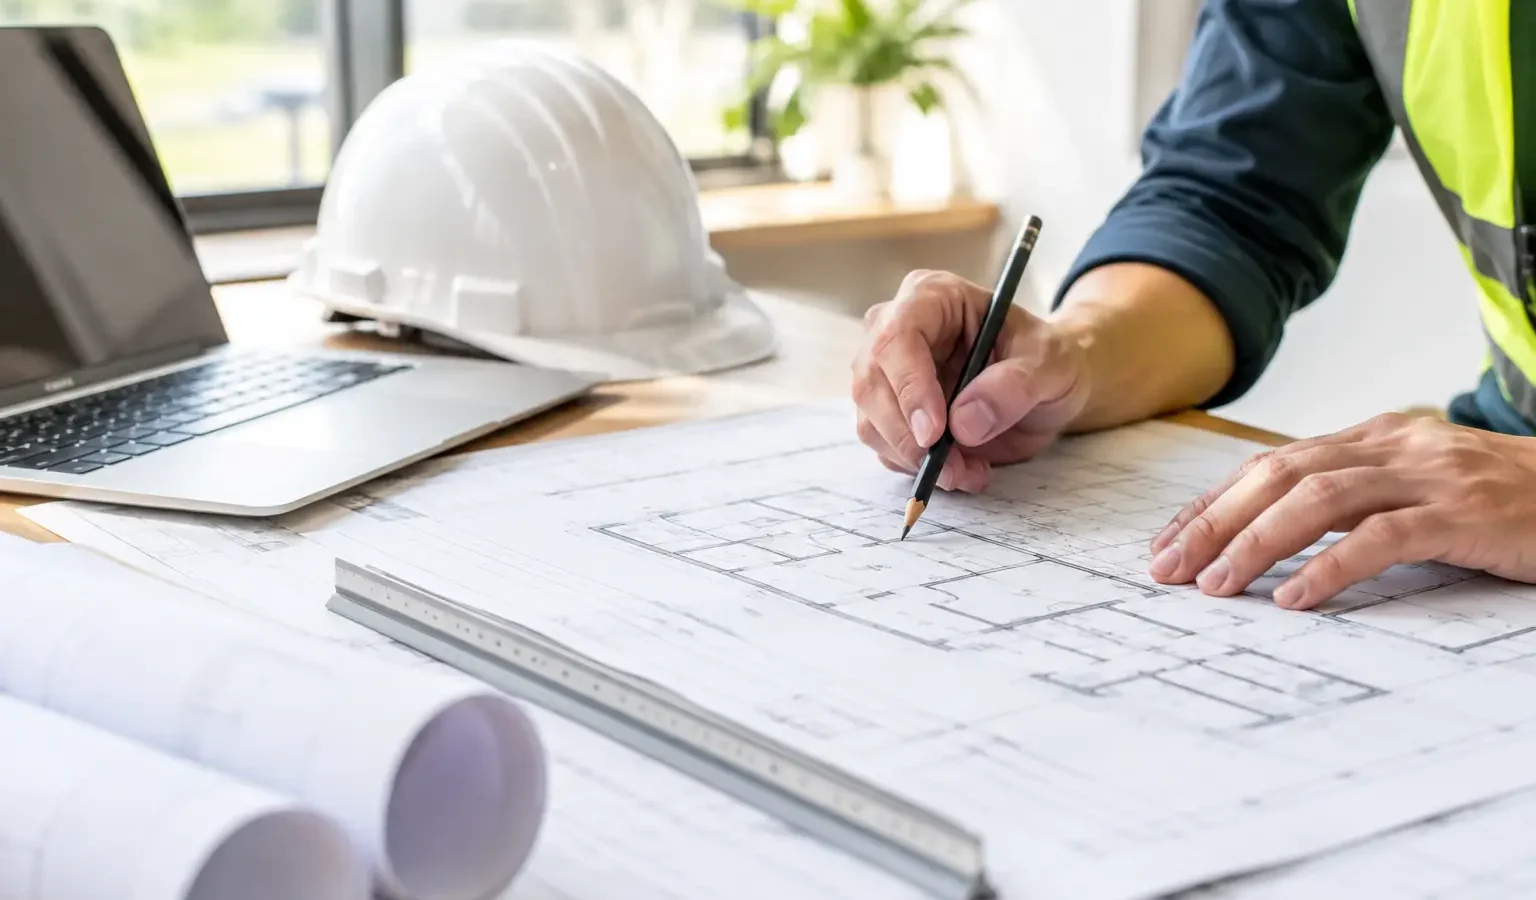
A builder does not need a polished architectural package to have a useful first conversation. But a few clear details can prevent the familiar cycle of broad estimates, missed assumptions, and repeated calls. Builder sketch requirements are less about drawing talent and more about giving a prospective outdoor living professional a reliable picture of what you want to build, where it will sit, and what may shape the work.
For a replacement deck, screened porch, patio cover, or full backyard transformation, the sketch is a communication tool. It helps a builder understand the scale of the opportunity before anyone treats an early number as a final price. You still decide how much design work to commission and whom to hire. The goal is simply a clearer path to the right first conversation.
1. Start with the existing space, not the finished vision
A useful sketch begins with the house and the yard as they exist today. Draw a simple overhead view of the rear or side of your home, then mark the doors, windows, stairs, driveway, pool, major trees, retaining walls, and any existing deck or patio. Straight lines and labels are enough.
Include the features a builder cannot reasonably guess from an inspiration photo. If a deck must connect to a second-story door, show that door. If a patio needs to work around a mature oak, a septic field, a sloped lot, or a pool equipment pad, place it on the sketch. Those conditions can influence layout, access, structural approach, drainage, materials, and budget.
Photos support the sketch especially well. Take wide shots from the house looking outward, then photos facing back toward the house from the far edge of the project area. A builder can often identify questions from these images, but photos do not replace dimensions or a simple site layout.
2. Show what you want to add, replace, or remove
Next, outline the proposed project in a different color or with a clearly labeled shape. It does not need to be to scale. What matters is that the relationship between the proposed work and the existing home is understandable.
For example, label a new deck as roughly 16 by 24 feet, with steps down to the lawn and a grilling zone near the kitchen door. For a screened room, show the wall of the home it attaches to, the likely entry location, and whether you picture a gable roof, shed roof, or a design that ties into an existing roofline. For a patio, indicate whether it is intended to be at grade, raised, covered, or connected to a fire feature or outdoor kitchen.
If you are replacing an existing structure, be direct about what stays and what goes. A builder needs to know whether the plan is a surface refresh, a tear-out and rebuild on the same footprint, or an expansion that changes stairs, railings, roof coverage, and drainage. Those are very different scopes, even when the finished space may look similar from a distance.
3. Add dimensions that affect feasibility
Approximate dimensions are far more helpful than none. Measure the width of the house wall where the project will connect, the distance to property lines, the depth of the usable yard, and the rough length and width of the proposed structure. A tape measure, laser measure, or county parcel map can all help establish a starting point.
You do not need to capture every inch before speaking with a builder. Site verification is part of a professional process. However, dimensions should be close enough to distinguish between a compact 12-by-14-foot covered porch and a 24-by-30-foot entertaining area with a kitchen, fireplace, and dining zone.
Vertical conditions deserve attention too. Note obvious grade changes, such as a yard that drops away from the house, an elevated rear door, or a basement walkout below the proposed deck. If you know the height from the ground to the deck surface or door threshold, include it. A few feet of elevation can materially change structure, stairs, rail requirements, and cost.
Builder Sketch Requirements That Matter Most
The most useful builder sketch requirements usually fall into four connected categories: location, dimensions, project features, and constraints. A builder does not need all final selections at this stage, but they do need enough context to judge whether the project fits their specialty and capacity.
Location means the relationship to the home, lot, and access points. Dimensions establish scale. Features describe how you expect to use the space, such as dining for eight, a covered lounge area, a hot tub, or a built-in grill. Constraints include issues like limited equipment access, steep grades, a homeowners association, coastal exposure, drainage concerns, or a firm property-line setback.
If you only have time to improve one part of your sketch, improve the constraints. Homeowners naturally focus on the finished deck, porch, or pavilion. Builders also need to see what surrounds it. A beautiful concept on a narrow hillside lot with no side-yard access calls for a different plan than the same concept on a level suburban yard.
4. Separate must-haves from ideas you are still testing
Your sketch should not imply that every line is nonnegotiable if it is not. Label the elements that are essential, such as a weather-protected dining area, stairs to the pool, privacy screening, or a structure that preserves a view. Then identify ideas that are flexible, such as the exact location of a fireplace, the size of a pergola, or whether a kitchen includes a refrigerator.
This distinction gives a builder room to offer informed alternatives. Perhaps shifting stairs improves circulation, reducing a roof span simplifies the structure, or moving a fire feature creates better clearance from the house. A capable builder should understand your priorities before recommending changes, not treat the first sketch as a fixed construction drawing.
It also helps to state your preferred style in a few words. Modern and minimal, traditional painted porch, mountain-rustic timber frame, or low-maintenance composite deck are useful signals. Add two or three inspiration images if you have them, but explain what you like about each one. You may be drawn to the roof form in one image, the railing in another, and the overall scale in a third.
5. Flag the questions you cannot answer yet
A strong intake does not pretend to resolve unknowns. If you are unsure whether a roof tie-in is possible, whether a tree can remain, or how close the project is to a setback, write that down. Good early questions are part of a productive builder conversation.
You can also note what information may be available: a property survey, prior plans, HOA guidelines, a site plan, or photos from before an addition was built. These documents can speed up the discovery process, although the builder will determine what is relevant and whether new measurements, engineering, permits, or formal drawings are needed.
A sketch is not a permit set, structural plan, or substitute for local code review. Some projects can move from a clear sketch into design and pricing efficiently. Others, particularly elevated decks, large roofed structures, projects near water, or integrated outdoor kitchens and fire features, may need a more formal design phase before a firm proposal is possible. That is not a setback. It is the right level of preparation for the project.
6. Pair the sketch with practical project details
The sketch works best when it travels with a concise project brief. State whether you own the property or are under contract to buy it, your project location, your target investment range, and when you hope to begin. Share whether you are gathering options, actively selecting a builder, or ready to proceed once scope and pricing align.
Budget context is especially helpful when it is honest. Rather than asking for a quote with no range, describe the investment level you are considering and where you are willing to make trade-offs. A builder can then advise whether your priorities point toward a simpler footprint, different materials, phased construction, or a larger design allowance. This saves time on both sides and makes the first response more useful.
Deckari uses this kind of structured information to help homeowners begin with builders suited to the project type, location, scale, and stage of readiness. The sketch is one useful part of that picture, not a test you need to pass before asking for help.
Before sending anything, look at your sketch as if you had never seen the yard. Can someone tell where the house is, what is proposed, roughly how large it is, and what might complicate construction? If the answer is yes, you have likely provided enough to start. A simple page that makes your goals visible can turn an uncertain inquiry into the kind of first conversation that moves the project forward.